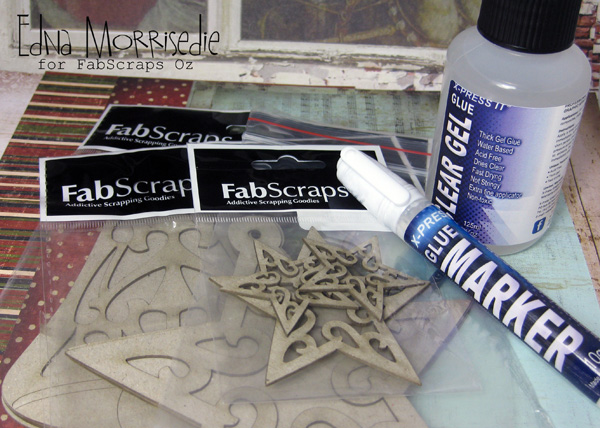
Thanks for joining us at the FabScraps Oz Blog for another FABulous FabScraps Project, this time I focussed my project on the FABulous Brass FabScraps Fancy Metal Catch. There are a couple of different varieties of FabScraps "Buckles", this one has a fancy little hook closure between the two sides, so it is nice and secure and as such I thought it would make a good element on a little handmade journal. Here is what I started with today:

I opted to use a combination of fabric and paper for my journal cover. Of course you could also use card in place of fabric…. I split one piece of FabScraps Heritage Floral paper in half vertically to get the whole cover out of one piece of paper, trimming back the RHS to allow the flap to come around for the closure (more on this later). I applied X-Press It TripleTac to the back of the two pieces of paper and then pressed them to the fabric which I cut a little larger than the paper (room for error), then I trimmed the fabric back to the paper edge. This leaves you with a long strip with a seam in the centre, which I covered with a dense zigzag stitch, which also goes all the way around the edge of the cover.

For the inside, I covered a piece of book board with a strip of FabScraps Heritage Script 2 paper, securing again with X-Press It TripleTac. I think it’s best to stick the paper to the board and let this dry before then using TripleTac to secure the board to the inside bottom of the cover (board to fabric). In this case I also inked the edge of the covered book board with a co-ordinating Copic Marker, before I secured it to the fabric.

TIP FOR USING FABRIC: Be sure to use something with a chunky weave, this is actually brown denim that I have had in my fabric box for some time, it is quite heavy and held form well with the paper over the top, and co-ordinated really well with the papers, and my brown loving heart!!!
If you are using a one sided fabric be sure to stick the paper to the back of the fabric, so that the fabric pattern becomes a feature on the inside of your journal, in my case I kept the brown.
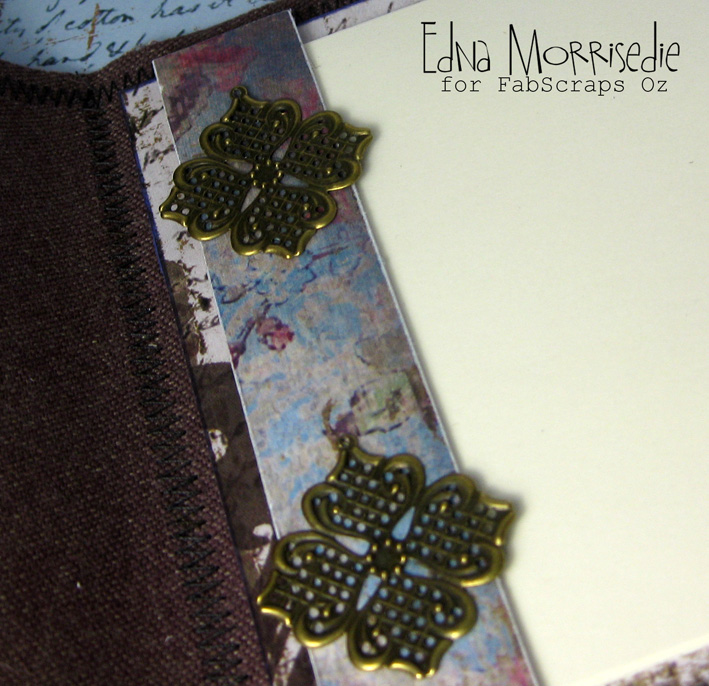
At this stage you would have the option to build a little set of photo sleeves or sheets, or do as I have done and insert journal pages. I have fancied these up a little with a cover strip of FabScraps Heritage Floral paper and some more FabScraps Brass Embellishments. I used X-Press It 6mm Double Sided High Tack Tape to secure the pages together, nice and strong for continued use, both in the stage of writing the journal, and reading it in the years ahead.
Then it was time to finish the cover. The placement of the brass closure needs to be done first as it is really important to get the alignment right. I achieved this by joining both sides together and closing the latch, applied X-Press It Clear Gel Glue to the centre back of each side, then flipped over and secured direct to the edges of the front and back cover as shown. The stitching is really just cosmetic, as the Clear Gel Glue is super strong!!

And then to the lovely stack of embellishments…. I wanted to stick with a matt finish, so opted to colour the chipboard pieces with Copic Markers. If you are not sure how deep the colour will be on your chipboard, do a few test swipes on the BACK of your chipboard pieces before choosing which colours…. I chose a deep pink and mid-range purple to bring out some of the colours in the paper. Once the chipboard was coloured, it was as easy as building the embellishment stack with X-Press It Clear Gel Glue…. Here is the stack order: Photo Circle Swirl Frame, Filigree Frame (I cut the tab off), Life Story Chipboard, Brass Cameo. Note: I centred each layer from the bottom up so that the Cameo was then centred in the Brass Photo Ring, and the middle opening in the Photo Circle Swirl Frame.

The embellishment stack was also secured to the front of the journal with X-Press It Clear Gel Glue. These would be fun to make up for your friends and family, either in this size as a journal, or smaller sizes for notebooks…. Or any size you like for scrapbook covers….

Here are the FabScraps products I used in my project today:
- FabScraps Papers: Heritage Floral and Heritage Script 2
- FabScraps Photo Circle Swirl Frame
- FabScraps Life Story with Clock (which I covered with the Cameo)
- FabScraps Fancy Metal Catch, Brass Embellishments Filigree Frame and Cameo
Here are the X-Press It products I used in my project today:
- X-Press It Clear Gel Glue
- X-Press It TripleTac
- X-Press It 6mm Double Sided High Tack Tape.
Thanks so much for visiting the FabScraps Oz Blog today, I hope you have enjoyed seeing the papers and embellishments take the form of a journal, I love the FabScraps metal catches and embellishments mixed with chipboard, so many ways to put them to good use, and have fun while you’re at it!!
Pin It